|
How to set up the Ruckers table stand…
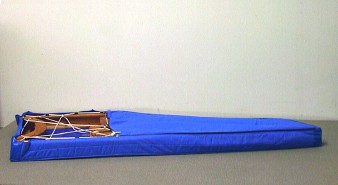
Rest the stand in its cover, upside down on the floor.
Unzip the cover, and remove the lower frame and place aside. |
|
|
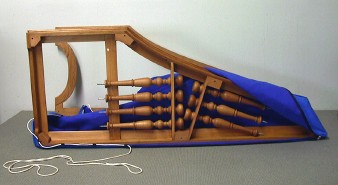
Flip the stand onto its spine, and remove from the cover. |
 |
|
|
|
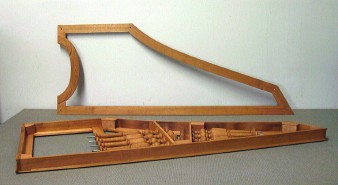
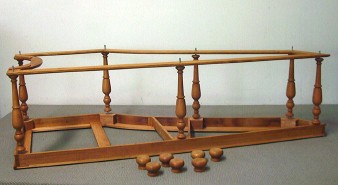
Rest the stand upside down on the floor, ready to screw in the legs. |
|
|
Remove the legs from their horizontal transport position by unscrewing
the balls.
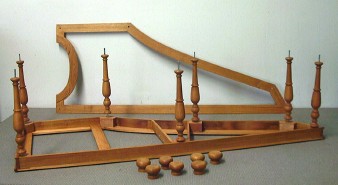
Observing the leg profile (thicker at the top), screw each leg only part
way into its hole.
The legs are identical and interchangeable. |
 |
|
|
|
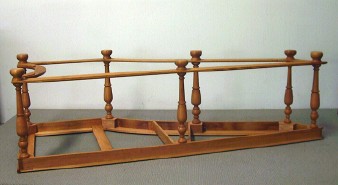
Locate the lower frame of the stand over each of the
seven leg bolts, observing that the finished stand has a moulding running
around the top of lower frame.
Because you are assembling the table stand upside down, you must ensure
the moulded corner is now facing down. |
|
|
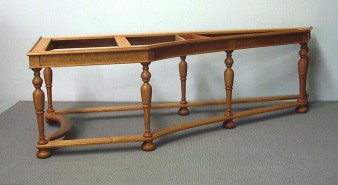
Now screw each leg into fully into the stand table.
When all legs are screwed fully into the stand table, screw each leg
ball in turn onto the base of each leg. |
 |
|
|
|
Flip the assembled table stand over onto its feet, and you are ready
to slide the instrument in from the spine side. |
|